3D Rendering: The Art and Science Behind Digital Visualization

Passionate about 3D rendering and data visualization, I translate complex concepts into accessible insights for all curious minds.
3D rendering is the unsung hero behind the breathtaking visuals in films, video games, architectural previews, and scientific simulations. At its core, 3D rendering takes mathematical models and transforms them into two-dimensional images that our eyes can appreciate. It’s a complex recipe—part art, part science—that blends mathematical rigor with creative flair.
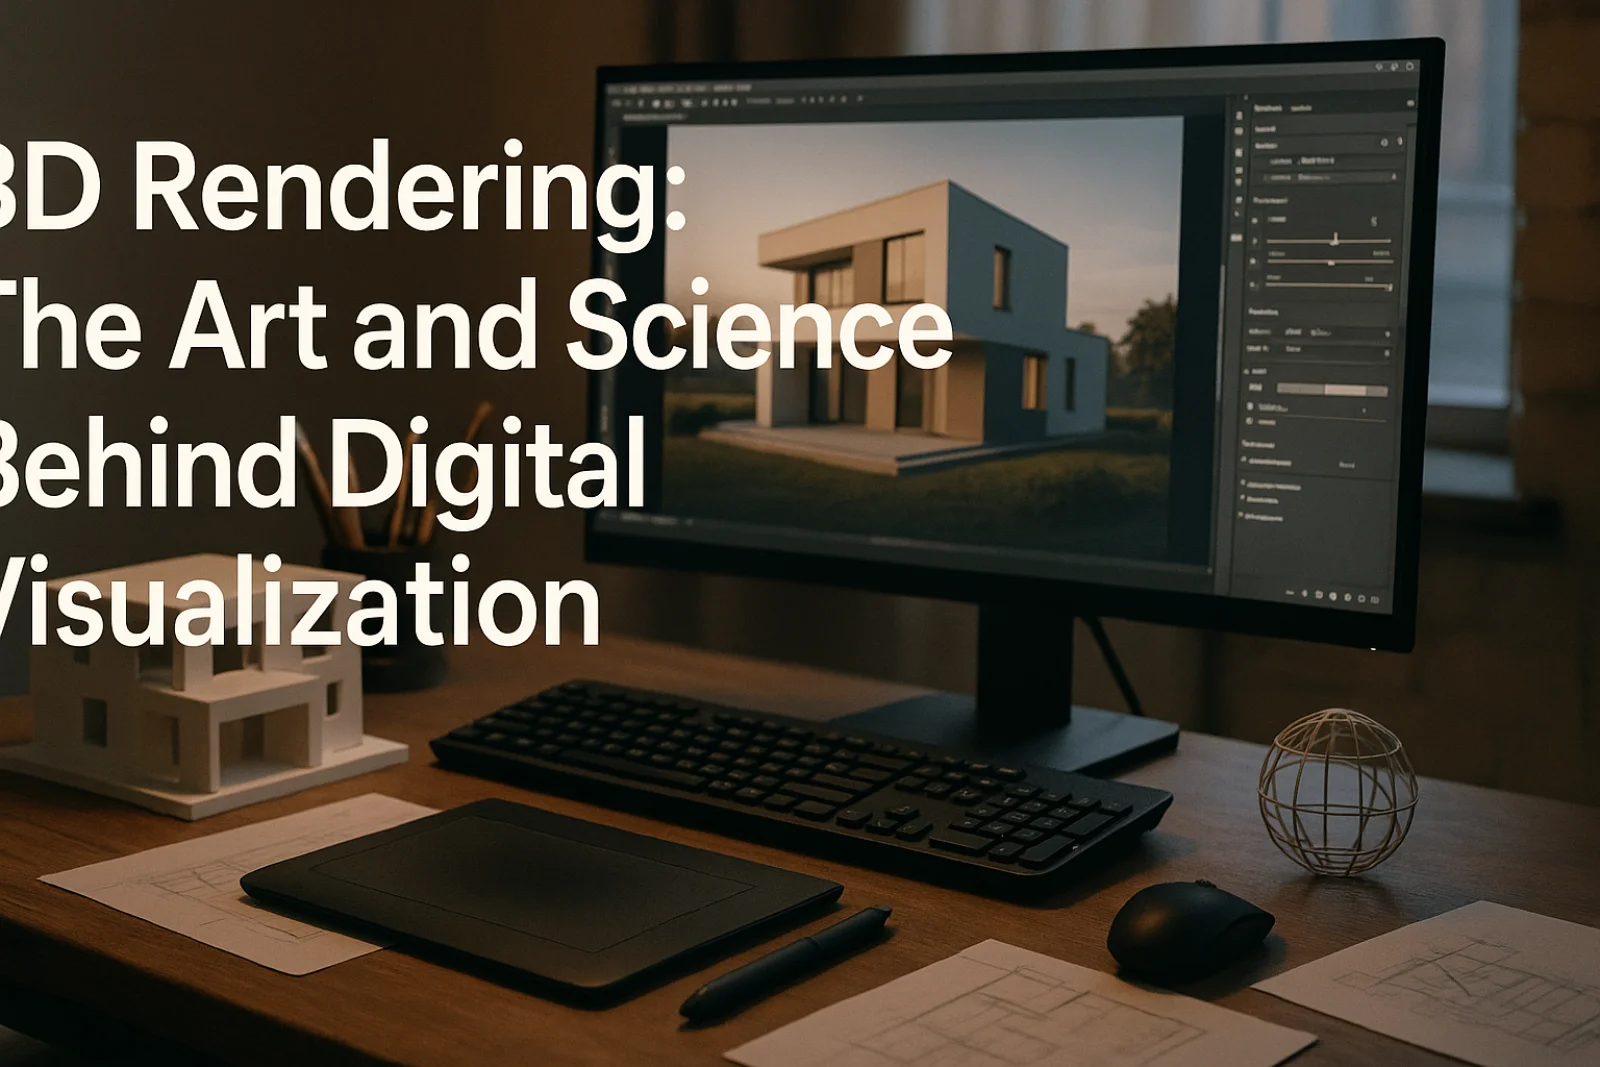
Visualization starts with clarity. In this guide, I’ll walk you through the essentials of 3D rendering, discuss key workflows, and share practical tips to optimize your results. Whether you’re aspiring to master rendering for animated films or looking to turbocharge product visualizations, understanding this process is crucial.
What Is 3D Rendering?
3D rendering is the process of converting 3D models—composed of vertices, edges, and faces—into a raster image or animation. This transformation is achieved by simulating how light interacts with surfaces, considering factors like material properties, textures, shadows, and reflections.
Let’s examine why this matters: With precise rendering, designers, architects, and engineers can communicate ideas effectively, anticipate challenges, and present concepts realistically before a single product or building is built.
The Rendering Pipeline: Step-by-Step
Rendering is a blend of art and math. The standard pipeline involves several stages, each requiring attention:
Modeling: The process starts with creating a digital 3D model using software like Blender, Maya, or 3ds Max. Accuracy here sets the foundation for realism later.
Texturing: Textures add color and detail. UV mapping ensures these textures wrap around your model correctly.
Lighting: Lighting choices—like ambient, point, or directional lights—dramatically affect mood and realism.
Shading and Materials: Material properties (gloss, roughness, transparency) inform how surfaces interact with light.
Camera Setup: Camera position, lens type, and depth of field settings mimic photography techniques.
Rendering/Compositing: Finally, the rendering engine processes all this data into a final image, which may be further refined with post-processing or compositing.
For a comprehensive overview of these steps, see our [Visualization Pipelines Guide](../visualization/visualization-pipeline).
Path Tracing, Ray Tracing, and Rasterization
The rendering engine is the heart of the process. Different engines use varied techniques for light simulation:
Rasterization: This real-time technique projects 3D geometry onto 2D screens efficiently. It’s mostly used in games and interactive applications due to its speed.
Ray Tracing: Rays are traced from the camera into the scene, bouncing off surfaces to simulate realistic lighting, shadows, and reflections. It’s more computationally intensive but produces higher realism.
Path Tracing: An advanced form of ray tracing that follows light paths through multiple bounces, resulting in photorealistic images with soft, nuanced lighting—ideal for feature films and high-end visualization.
For a deep dive into these algorithms, check our [Ray Tracing Explained](../ray-tracing/ray-tracing-intro) article.
Real-World Applications
3D rendering isn’t just for entertainment. Here are some practical uses:
Architecture: Renderings help architects present lifelike previews to clients, highlighting lighting and materials before construction.
Automotive Design: Engineers visualize car models in various lighting conditions, supporting both aesthetics and safety planning.
Scientific Visualization: Complex datasets, like molecular structures or geographic landscapes, become accessible and actionable through rendered models. See our [Data Visualization in Science](../visualization/data-viz-science) case study for examples.
Product Prototyping: Marketing teams and engineers use renderings to preview products and spot design issues early, reducing costly errors.
Performance and Optimization Techniques
Precision unlocks better graphics, but high-quality rendering can be taxing on hardware. Here are some strategies to balance quality and efficiency:
Level of Detail (LOD): Simplify objects that are distant from the camera to save resources.
Texture Baking: Pre-compute lighting and shading into textures, reducing computation during real-time rendering.
Denoising Algorithms: Use AI-powered filters to clean up noisy renders, speeding up path tracing while maintaining quality.
Parallelization: Leverage multi-core CPUs and modern GPUs to distribute rendering tasks.
Curious about hardware-specific optimization? Our [Rendering Optimization Tips](../optimization/rendering-optimizations) guide covers platform-specific advice.
Workflow: From Scene to Final Image
A practical example: Imagine you’re tasked with creating a photorealistic kitchen for an interior design client. Your workflow might include:
Importing architectural plans into a modeling suite.
Modeling furniture and appliances with accurate dimensions.
Applying high-resolution textures for wood, metal, and glass.
Setting up realistic lighting to match the client’s intended ambiance.
Using a path tracer, render multiple frames from different camera angles.
Compositing final images to emphasize the most compelling aspects.
Mistakes in early modeling or lighting setups can cascade into unrealistic results, so iterative testing and refinement are essential. For full workflow tips, see our [3D Rendering Workflow Best Practices](../3d-rendering/workflow).
Conclusion: Your Next Steps in 3D Rendering
Whether you’re a seasoned professional or just starting your journey, mastering 3D rendering means blending technical expertise with creative problem-solving. Stay curious, experiment with new tools, and always analyze your results with a critical eye. Remember, rendering is a process where each improvement—no matter how small—can elevate your entire project.
Ready to dive deeper? Explore our advanced tutorials or visit the [Complete Guide to Computer Graphics](../computer-graphics/overview) for more resources.
---
Content is for informational purposes only.; Technical implementations may require adaptation for specific use cases.; Technology evolves—verify details for your particular context.
Loading…